Are you a farmer or an animal lover who wants to make nutritious and cost-effective animal feed? Look no further! In this file, we will guide you through the process of using a pellet machine to make high-quality animal feed. By following these steps, you can ensure that your animals receive the best nutrition while maximizing your resources.

Step1: Gather ingredients and make precleaning.
Before you begin using a pellet machine, it’s crucial to gather all the necessary ingredients for your animal feed. Depending on the type of animal you are feeding, the ingredients may vary. Common ingredients include grains (such as corn, wheat, and barley), soybean meal, fish meal, oilseed meals, vitamins, minerals, and additives. Make sure to select high-quality ingredients to provide optimal nutrition to your animals.
Step2: Grinding
Once you have gathered all the ingredients, it’s time to grind them into a fine powder. A grinder or hammer mill can be used for this purpose. Grinding the ingredients helps to improve their digestibility and ensures that the final feed pellets have a consistent texture. It’s essential to adjust the grinder’s settings to achieve the desired particle size for your animal feed.
Step3: Mixing
After grinding, it’s time to mix the ingredients thoroughly. Proper mixing ensures that each pellet contains a balanced blend of nutrients. You can use a feed mixer or a feed mixer wagon for this step. The mixing process should be done for a sufficient duration to achieve uniform distribution of the ingredients. Adding a small amount of water during mixing can help enhance pellet formation.
Step4: Pelletizing
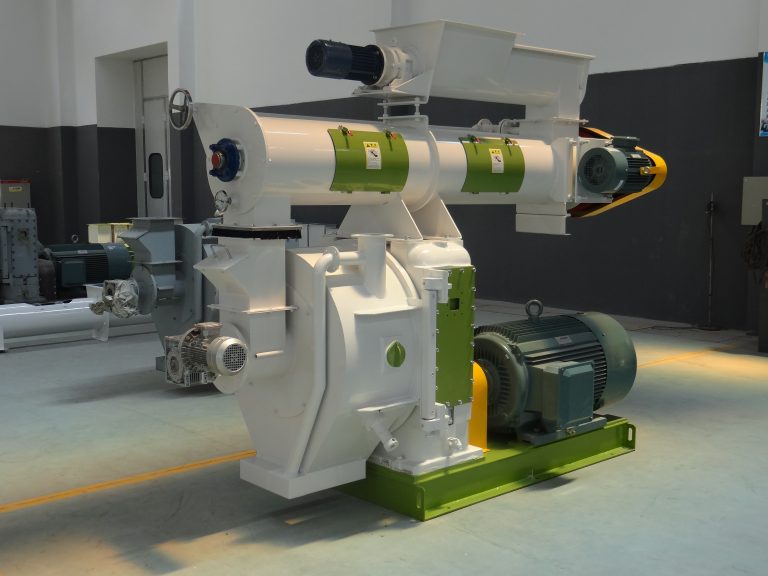
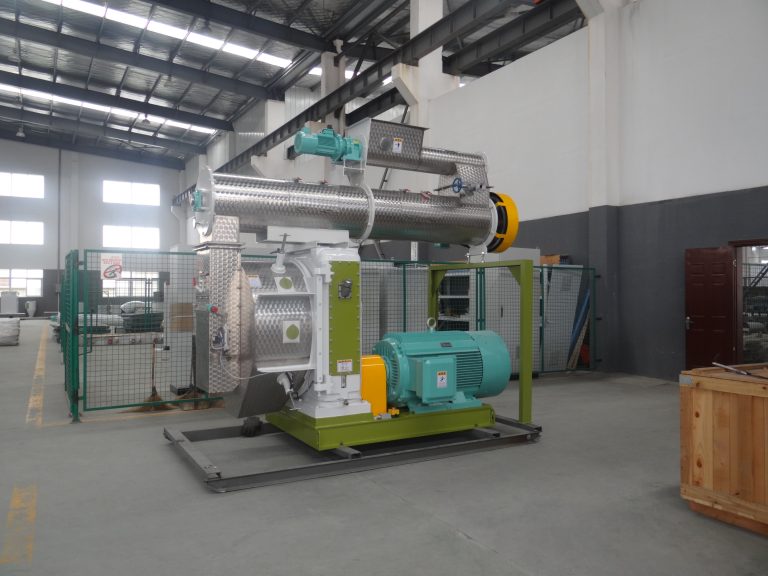
Now comes the most critical step – pelletizing. This is where a pellet machine comes into play. A pellet machine, also known as a pellet mill, is designed to transform the mixed feed ingredients into compact pellets. The machine compresses the mixture through a die, which shapes the pellets. The die can have various hole sizes, allowing you to produce pellets of different diameters to suit your animals’ needs.
Step5: Cooling and Drying
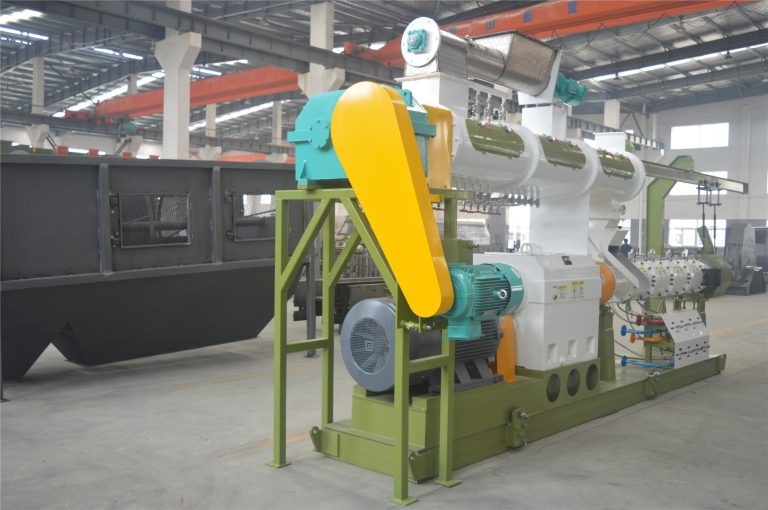
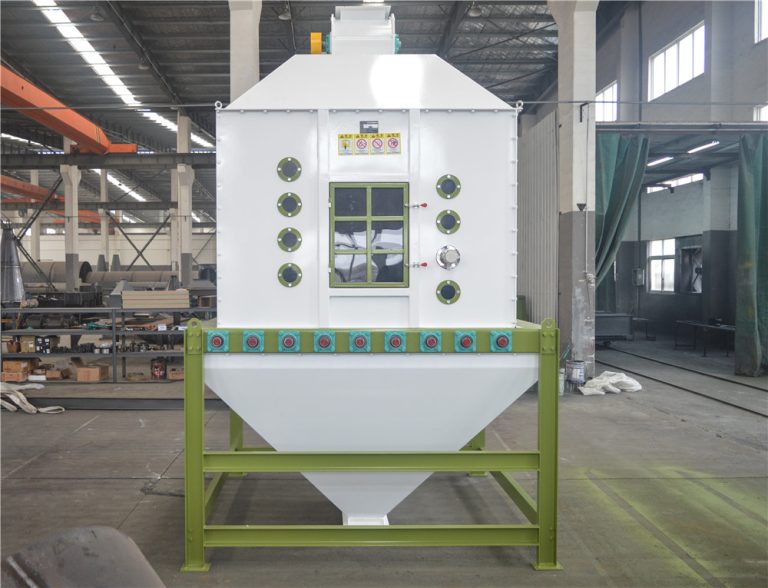
Once the pellets are formed, they need to be cooled and dried. Hot pellets can be damaged or crumble easily, reducing their quality. A pellet cooler and dryer can be used to reduce the temperature and moisture content of the pellets. This process ensures that the pellets are stable, durable, and suitable for storage and transportation.
Step6: Packaging and Storage
The final step is to package and store the finished feed pellets. Use appropriate packaging materials, such as bags or containers, to protect the pellets from moisture, pests, and contamination. Ensure that the storage area is clean, dry, and well-ventilated to maintain the pellets’ quality. Proper storage conditions will help preserve the nutritional value of the feed pellets for an extended period.
By following these steps, you can utilize a pellet machine effectively to produce high-quality animal feed. Whether you have poultry, livestock, or pets, homemade feed pellets can provide them with the necessary nutrients while saving you money in the long run. Remember to regularly check the condition of your pellet machine and perform any necessary maintenance to ensure optimal performance. Happy pelletizing and happy animals!
